This is a tutorial for an Owl Shells Beanie I made a few weeks ago for a 1,5 year old sweet baby girl. The final beanie was about 48 cm and the depth was of 17 or 18 cm. If you want to make a bigger version, just increase more rows. The beanie was lined with fleece, suitable for winter as well.
I know that on this great world wide web there are many, many amazing tutorials of owl beanies, but I wanted to make one without the long ears. I always improvise when I am making a crochet item. For this beanie I have used the 4 mm crochet hook and Red Heart Detroit yarn, in colors: violet, purple, yellow and green. For the rainbow pom-poms I used scraps of yarn I had around the house.
For this beanie I worked HDCs in the rounds, joining only at row 8. Just use a scrap of yarn or a marker to mark where your row begins and ends.
Start with purple yarn and a magic ring:
R1: 8 HDC in magic ring = 8 HDC in total
R2: 2 HDC in each sc around = 16 HDC
R3: *1 HDC, 2 HDC in the next sc*, repeat till the end of the row = 24 HDC
R4: *1 HDC in the next 2 sc, 2 HDC in the next sc*, repeat till the end of the row = 32 HDC
R5: *1 HDC in the next 3 sc, 2 HDC in the next sc*, repeat till the end of the row = 40 HDC
R6: *1 HDC in the next 4 sc, 2 HDC in the next sc*, repeat till the end of the row = 48 HDC
R7: *1 HDC in the next 5 sc, 2 HDC in the next sc*, repeat till the end of the row = 56 HDC
R8: *1 HDC in the next 6 sc, 2 HDC in the next sc*, repeat till the end of the row = 62 HDC. Join rows at the end.
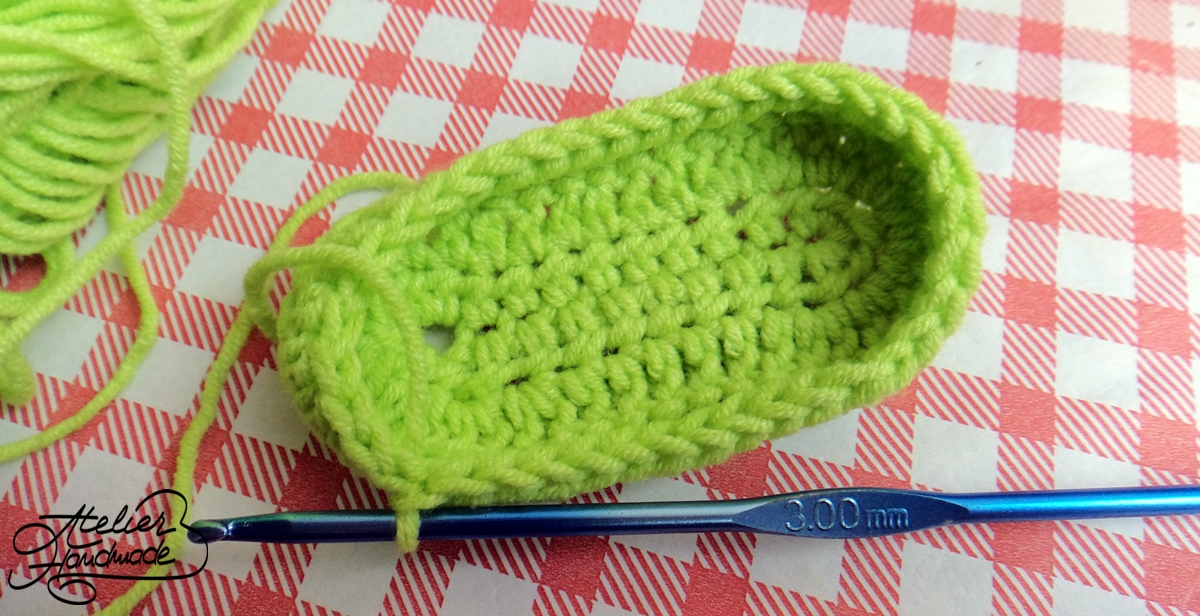
This is how the beanie pie should look after the increasing rows:
![crochet owl beanie]()
R9: make 11 shells: ch 2, 4DC in the same sc, *skip 2 sc, 1 sc, skip 2 sc, 5 DC in the same sc* repeat till the end = 11 shells. A shell is made of 5 DC in the same sc.
R10: change color and make 11 shells on each row.
![shells crochet owl beanie]()
Repeat R9 and R10 until you have reached 14 cm in depth. The rest of the 4 cm will be the FPHDC and BPHDC rows. Always measure your work in progress!
![beanie measurement]()
After your beanie is large enough, it is time to make the edging:
With yellow make a row of sc.
![first row of sc with yellow]()
The second row of the edging will be the first FPHDC and BPHDC row. Alternate one FPHDC and then a BPHDC. Make 2 rows with yellow yarn and then change to green yarn and work 5 more rows of FPHDC and BPHDC. If you do not know how to make the front and back post half double crochet, check out RepeatAfterMe’s video.
![front post halfdouble crochet]()
For the eyes of the owl use white yarn and follow rows 1 to R4. For the blue/black pupils follow R1 and R2.
For the beak I used orange yarn and worked as it follows: ch 11, HDC in the second ch from hook, work 5 DC in the next 5 sc, 1 HDC in the next 2 sc and 2 sc in the last 2 ch. Repeat the same stitches on the other side of the beak.
![beanie owl shells]()
To add a „Too fluffy to handle it” look, I made 2 rainbow pom poms to go with the beanie. I find it cute and girlish.
![rainbow pom pom]()
Hope you’ll enjoy making this beanie as much as I enjoyed it! ![:)]()
![rainbow Owl Shells Beanie]()
p.s: I am sorry for the low quality of the pictures, I made this beanie one night when I could not sleep and my light bulbs are not camera friendly.
The post Pattern: crochet OWL Shells Beanie appeared first on Atelier Handmade.


 - se lucrează ceva mai migălos decât bumbacul ori acrilul, însă merită osteneala. Rezultatul final e spectaculos.


 , care e un acril special realizat pentru copii. Îmi place să folosesc bumbac în compoziție cu acril pentru că în felul acesta materialul e mai flexibil.


 . Moale, fin, nu lasă scame și nu produce alergii.